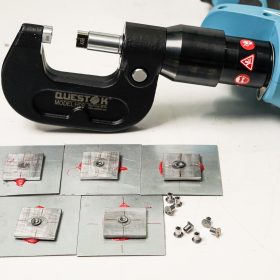
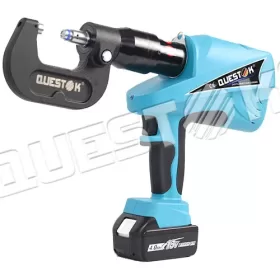
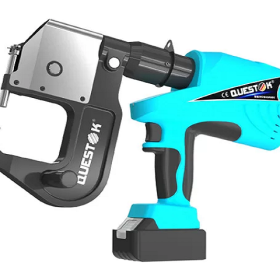
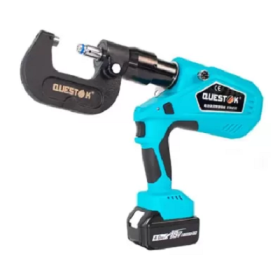
A Beginner’s Guide to Using a Handheld Clinching Tool
A Comprehensive Guide to Using a Handheld Clinching Tool
Introduction
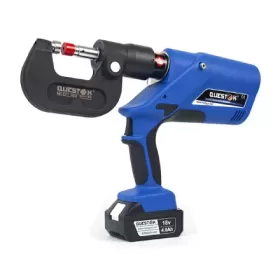
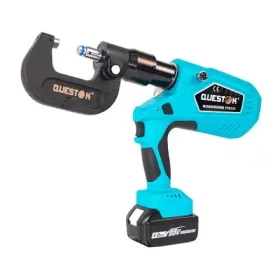
In the realm of metalworking, handheld clinching tools stand out as essential equipment for joining sheet metal components without the need for welding or other complex processes. A Beginner’s Guide to Using a Handheld Clinching Tool provides a comprehensive overview of this innovative tool, empowering individuals to master its intricacies and achieve optimal results.
Components of a Handheld Clinching Tool
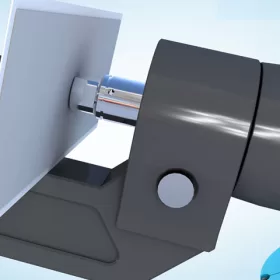
Plunger: The plunger applies pressure to the workpiece, forming the clinch joint.
Die Set: The die set creates the desired joint shape and provides support during clinching.
Anvil: The anvil supports the workpiece and prevents deformation during the clinching process.
Lever: The lever amplifies the force applied by the operator.
Selecting the Right Tool for the Job
The type of handheld clinching tool required depends on the specific application. Key factors to consider include:
Material Thickness: Clinching tools are typically designed for specific material thicknesses.
Joint Type: Different die sets produce different joint shapes, such as round, oval, or square.
Application: Choose a tool suitable for the intended environment, such as manual or automated operation.
Preparation and Setup
1. Clean the workpiece: Remove any dirt or debris from the metal surfaces to ensure proper gripping.
2. Align the workpiece: Position the workpiece between the plunger and the die set accurately.
3. Adjust the tool: Set the plunger height and lever force to match the material thickness and desired joint shape.
Clinching Process
1. Insert the workpiece: Place the workpiece between the plunger and the die set.
2. Apply pressure: Push down on the lever to apply pressure to the workpiece.
3. Form the clinch joint: The plunger presses the workpiece into the die set, creating a permanent interlock.
Troubleshooting Common Issues
Weak joints: Insufficient pressure may result in weak joints. Adjust the lever force or use a different die set.
Burring: Excessive pressure can cause burring around the clinch joint. Adjust the tool settings and lubricate the workpiece.
Misalignment: Misaligned workpieces can lead to uneven or deformed joints. Ensure proper alignment before clinching.
Safety Precautions
Wear protective gear: Safety glasses, gloves, and hearing protection are essential when operating a handheld clinching tool.
Secure the workpiece: Clamp the workpiece securely to prevent movement during clinching.
Maintain the tool: Regularly inspect and maintain the tool to ensure proper operation and safety.
- Company News
- Industry News
- Tag
- Tags
-
The Advantages of Questok Rivet Guns: Precision, Efficiency, and Durability
In industrial fastening applications, the choice of tools directly impacts productivity, safety, and long-term cost-effectiveness. Questok rivet guns have emerged as a standout solution for professionals across aerospace, automotive, and construction sectors. Combining advanced engineering with user-centric design, these tools deliver unmatched performance. Below are the key advantages that make Questok rivet guns a preferred choice:
-
Rivet Gun FAQ
Rivet Gun FAQ-SPR
-
Fast Assembly and Repair With Cordless Solid Rivet Gun
Questok cordless solid rivet gun stands out as a pivotal innovation, merging portability with power to facilitate efficient and effective fastening in a myriad of applications.
-
Redifine The Role of Self-piercing Riveting Gun Machine
Self-piercing riveting adopts high-speed mechanical fastening skill that joins thin sheet materials, typically steel and aluminum alloys.
-
The Latest Innovations in Clinching Tool Design
Explore the latest innovations in clinching tool design, redefining precision, efficiency, and versatility in material joining.
-
The Application and Maintenance of Self-Piercing Rivet Guns
Delve into the applications of self-piercing rivet guns in the automotive and aerospace industries and reveal the essential maintenance practices that ensure their accuracy and efficiency.
-
Rivetless Riveting Gun for Ventilation Duct Projects
The ventilation duct rivetless gun is a tool for riveting ventilation ducts without rivets.
-
Guide to Using Self-Piercing SPR Riveting Gun
In the automotive industry, self-piercing SPR (Self-Piercing Rivet) riveting guns are commonly used for joining metal components in vehicle bodies, including BMW vehicles.
-
Rivet Gun FAQ
Rivet Gun FAQ-SPR
-
User-Friendly Features- Making Riveting Easy with Electric Blind Rivet Guns
Electric blind rivet guns are essential tools for industrial applications, providing a convenient and efficient way to fasten materials together. These tools have significantly advanced, incorporating user-friendly features that enhance their functionality and ease of operation. This article explores several key user-friendly features of electric blind rivet guns, highlighting how they simplify and streamline the […]
-
Unleashing Potential- Unlocking the Versatility of a Handheld Rivet Gun
In the realm of construction and fabrication, precision and efficiency reign supreme. Among the indispensable tools that empower craftsmen and DIY enthusiasts alike, the handheld rivet gun stands as a beacon of versatility and innovation. This unassuming device harbors a hidden potential that belies its compact form, offering a plethora of applications that unlock unbounded […]
-
Versatile Fastening- Applications of the Handheld Rivet Gun Across Industries
In the realm of fastening, the handheld rivet gun stands as a testament to ingenuity and versatility. Its ability to effortlessly join materials with sheer strength and permanence has revolutionized manufacturing and construction processes, leaving an enduring mark on diverse industries. Aerospace: Where precision and reliability are paramount, the rivet gun shines. In aircraft assembly, […]
-
The Role of Automation in Electric Rivetless Clinching
Electric rivetless clinching (ERC) is a lightweight joining process that eliminates the need for rivets or other fasteners. This can lead to significant cost savings and increased production efficiency. Automation plays a critical role in ERC, enabling high-speed and high-volume production. Automated Feed Systems Automated feed systems are used to accurately position the two workpieces […]
-
Why Choose a Universal Self-Piercing Riveting Gun for Your Projects?
In the realm of construction and fabrication, riveting guns stand as indispensable tools for creating secure and robust connections. Among the various types available, universal self-piercing riveting (SPR) guns have emerged as a game-changer due to their versatility and efficiency. This article will delve into the compelling reasons why choosing a universal self-piercing riveting gun […]
-
Why Choose Stainless Steel Hollow Rivets for Your Projects?
In the world of industrial manufacturing, choosing the right fasteners for your projects is crucial for ensuring longevity and reliability. Among the many options available, stainless steel hollow rivets stand out as a superior choice for a wide range of applications. This article delves into the compelling reasons why stainless steel hollow rivets are the […]
-
Top Trends in Electric Rivetless Clinching Guns
In the realm of fastening technology, electric rivetless clinching guns have emerged as a revolutionary solution for a wide range of industrial applications. These advanced tools offer several преимущества and capabilities, revolutionizing the way businesses approach their fastening needs. Adoption of Brushless Motors Brushless motors have gained significant traction in electric rivetless clinching guns due […]
